CPU heatsink gets dusty in very short time, and this damage the process to cool your CPU. So it is necessary to clean your CPU Heatsink once in six months, This will help to keep your Computer healthy and Faster. here we have shown some Cleaning Tips.
- Turn off your computer and unplug it from the power outlet.
- Remove the side panel of your computer case.
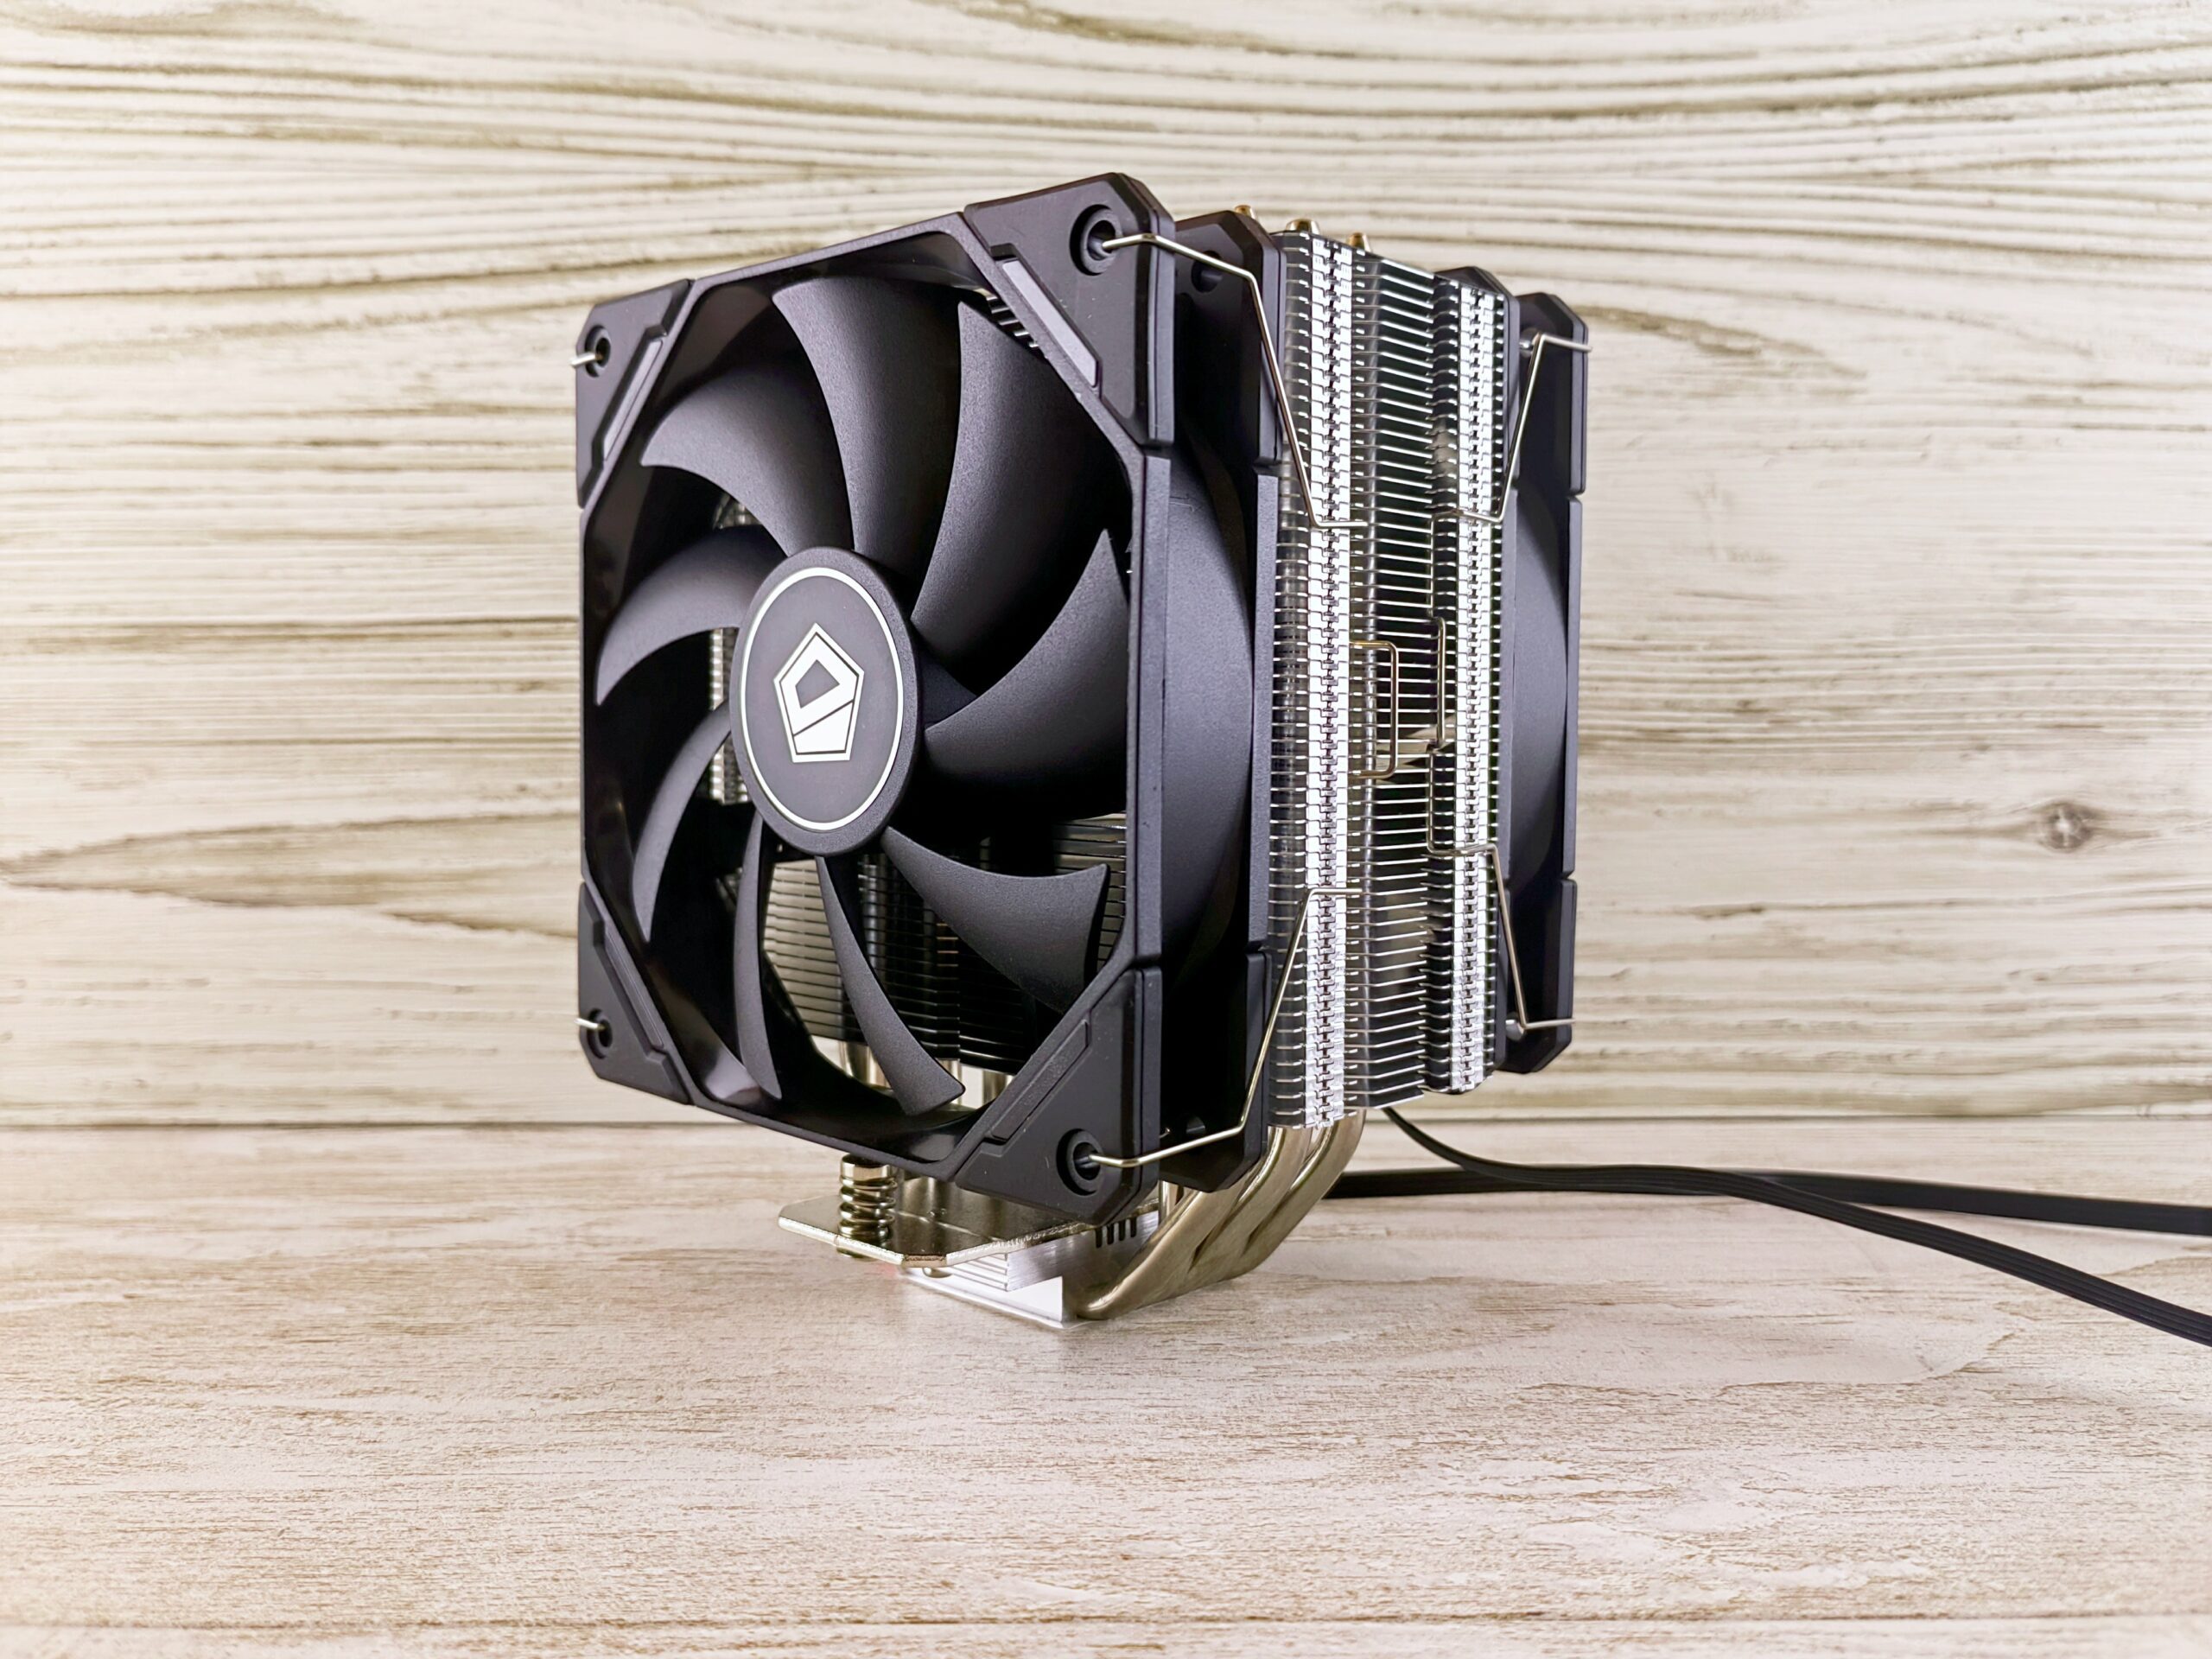
- Locate the CPU heatsink. It is usually a large metal block with a fan attached to it.
- Unscrew the screws that hold the heatsink in place.
- Carefully remove the heatsink from the CPU.
- Use a can of compressed air to blow away any dust or dirt that is on the heatsink.
- If there is any stubborn dust or dirt, you can use a brush to remove it.
- Once the heatsink is clean, replace it on the CPU.
- Screw the heatsink in place.
- Replace the side panel of your computer case.
- Plug your computer back into the power outlet and turn it on.
Here are some additional tips for cleaning a CPU heatsink:
- Do not use water or any other liquid to clean the heatsink. This could damage the heatsink or the CPU.
- Be careful not to bend or damage the fins of the heatsink. The fins are important for heat dissipation.
- If you are not comfortable cleaning the heatsink yourself, you can take it to a professional computer repair shop.
By following these steps, you can keep your CPU heatsink clean and running efficiently.